-
Description
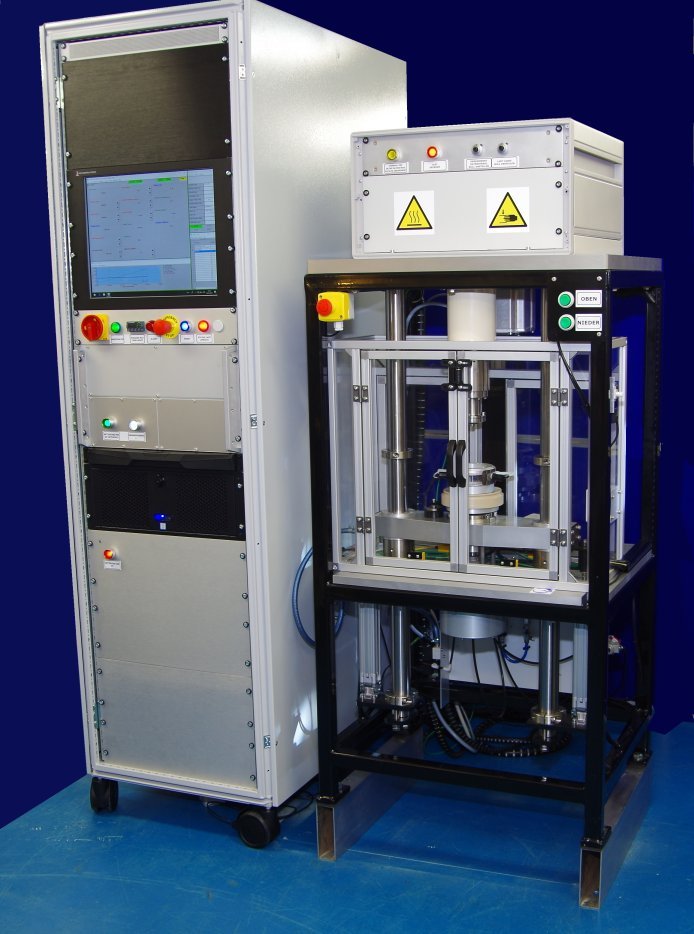
A unique feature of TE 95 Precision Rotary Tribometer – Low Temperature Enabled is the use of a dual axis, in-line, torque and axial force transducer, allowing measurement of both axial load and friction torque on the rotating, upper specimen, as opposed to the more conventional methods associated with more standard rotary tribometers. Measuring the load and friction at the rotating specimen, instead of at the fixed lower specimen, means that the latter can be attached to bulky refrigerant pipes, without inducing unwanted tare forces.
Tests may be run using geometries specified in the following standards:- • ASTM G99 Wear Testing with a Pin-on-Disc Apparatus
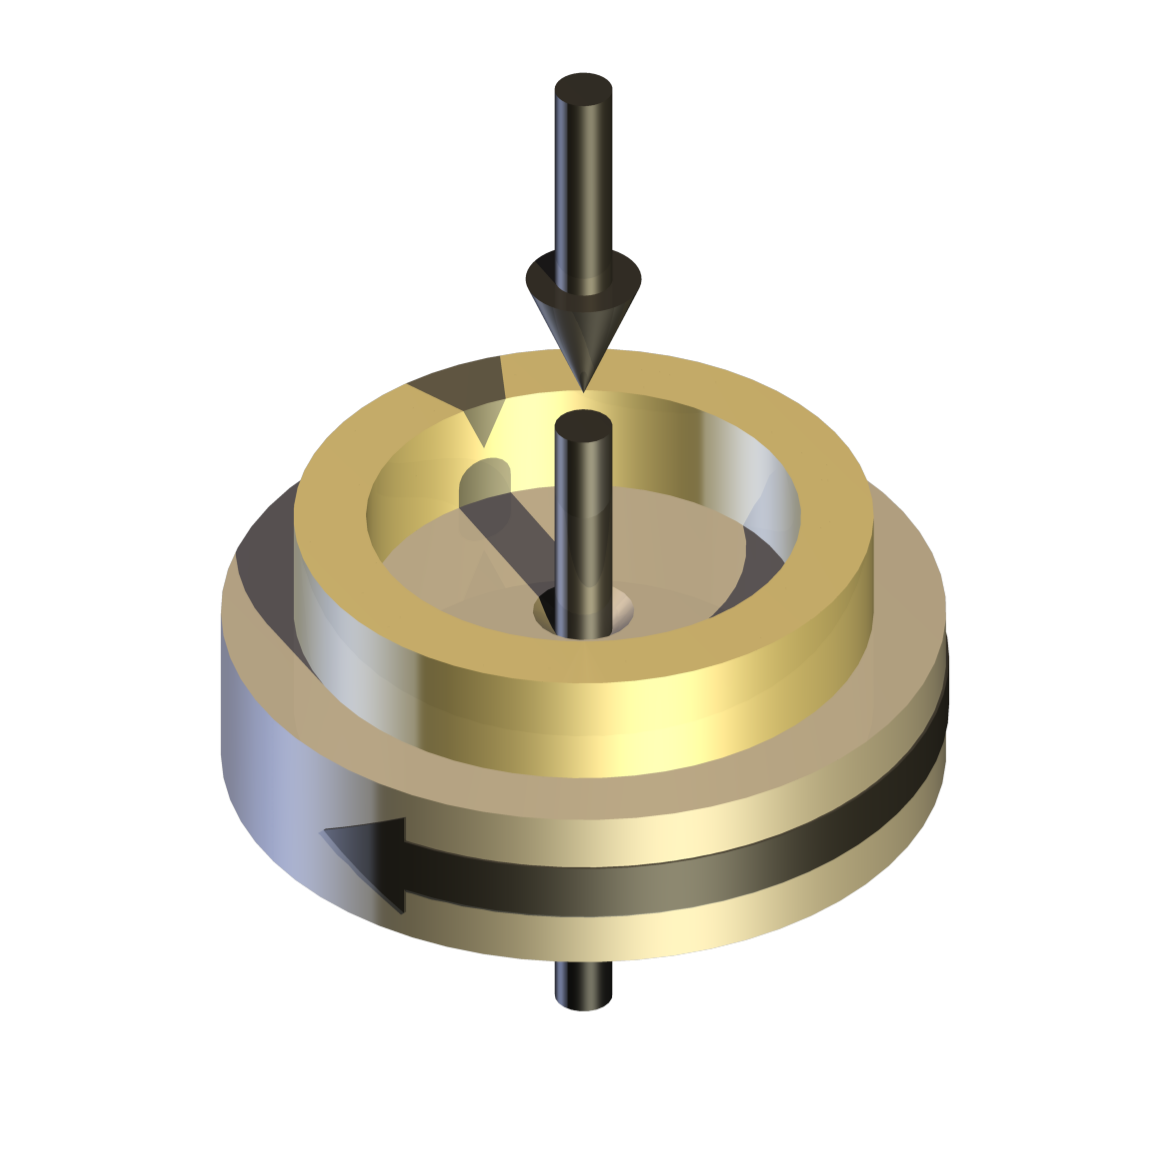
- • ASTM D3702 Standard Test Method for Wear Rate of Materials in Self-Lubricated Rubbing Contact Using a Thrust Washer Testing Machine
- • ASTM D2266 Wear Preventive Characteristics of Lubricating Greases
- • ASTM D4172 Wear Preventive Characteristics of Lubricating Fluid
- • ASTM D5183 Determination of the Coefficient of Friction of Lubricants
Customised test assemblies and tooling can be accommodated, provided these work with axi-symmetric loading and produce a pure couple friction torque.
Load Application
Lower test assemblies are mounted on an adjustable height cross-beam. Pneumatic cylinders are provided for raising and lowering the cross-beam.
A servo pneumatic load bellows, mounted beneath the cross-beam and acting through an air bearing, applies the axial load. A force transducer mounted on top of the bellows is used to monitor the force applied by the bellows, with the actual force applied to the specimens sensed by the in-line transducer. Load control is implemented by cascade control using both force measurements for feedback.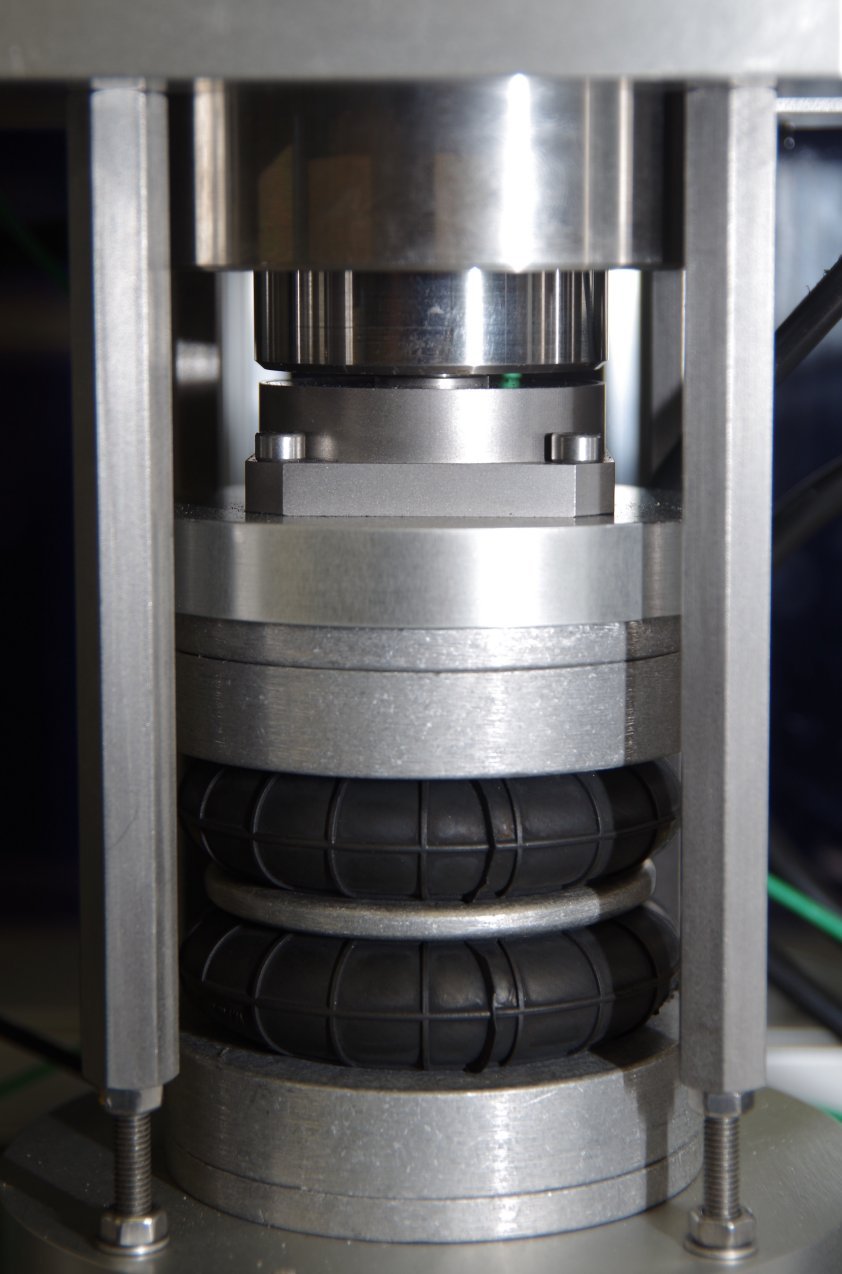
Refrigerated Assembly
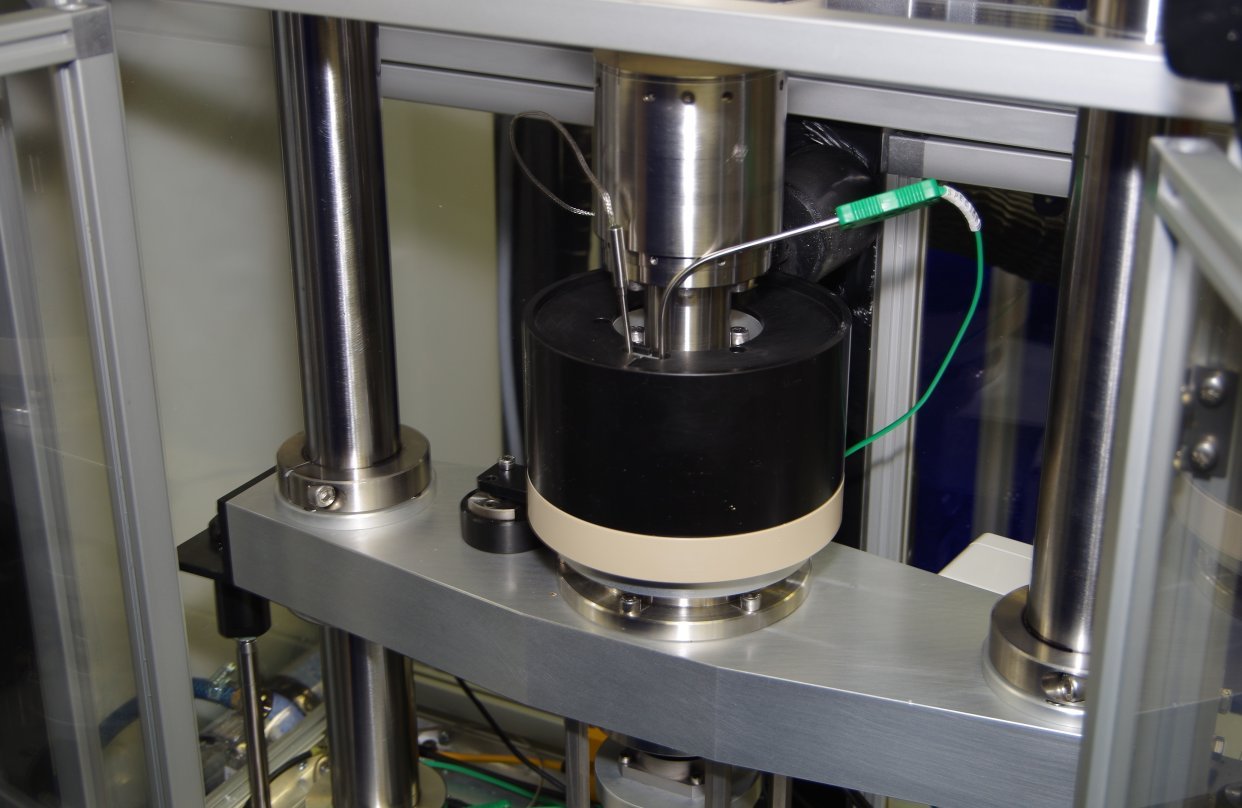
The refrigerated test assembly mounts on the bellows actuator shaft, which projects through the air bearing, with the bulky refrigerant pipes projecting through the rear of the test enclosure. The rotating specimen, mounted on the lower end of the in-line transducer, projects downwards into the refrigerated assembly.
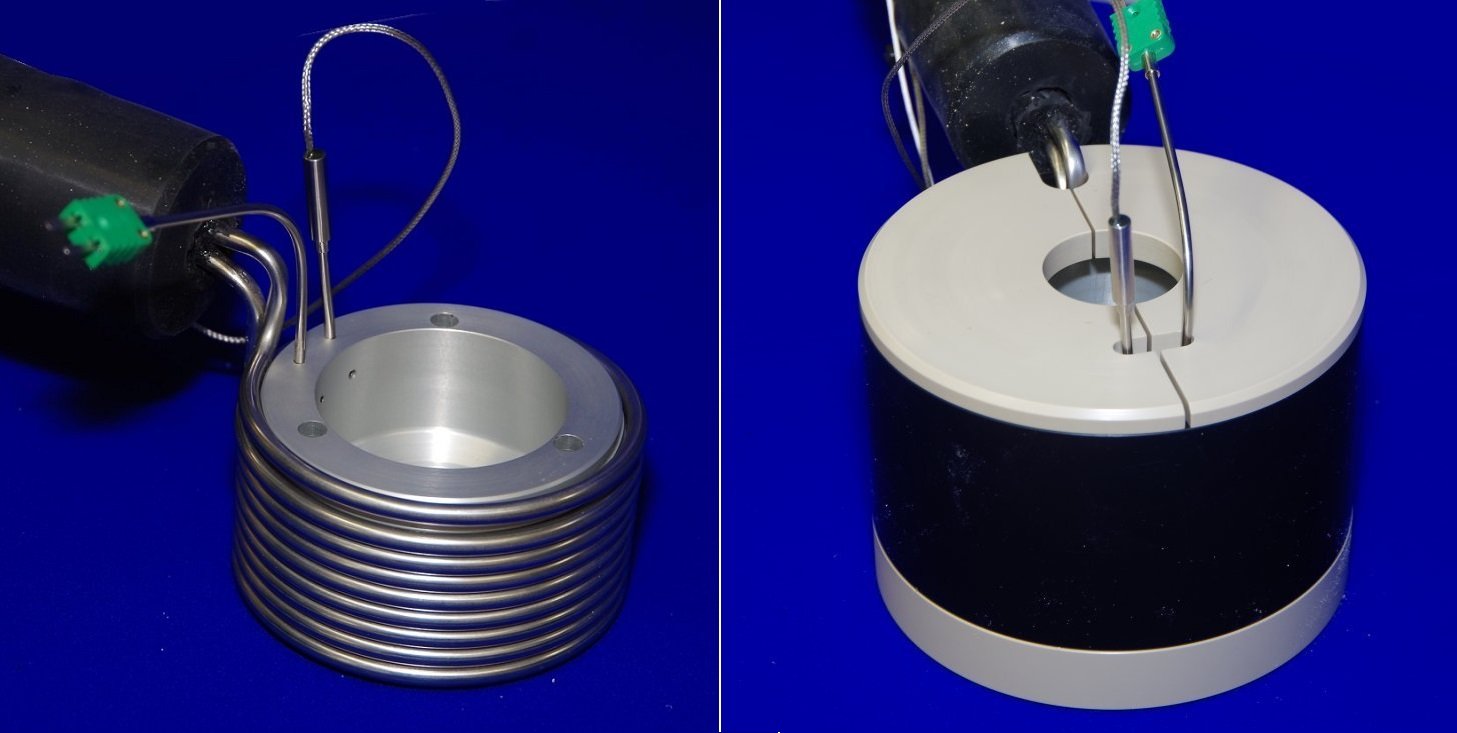
A unique feature of the cooling system is that, unlike more conventional systems, it does not involve the use of a pumped heat transfer medium. Instead, the refrigerant from a standard laboratory chiller is delivered, under pressure, to the test assembly, where it is expanded in a cooling coil, which is wrapped around an aluminium cooling block. This provides a very efficient means of cooling, having eliminated the heat transfer and pumping losses associated with using a heat transfer fluid.
The aluminium cooling block is mounted on a PEEK sub-base with a nylon tube wall, with the resulting gap filled with loose vermiculite, for insulation.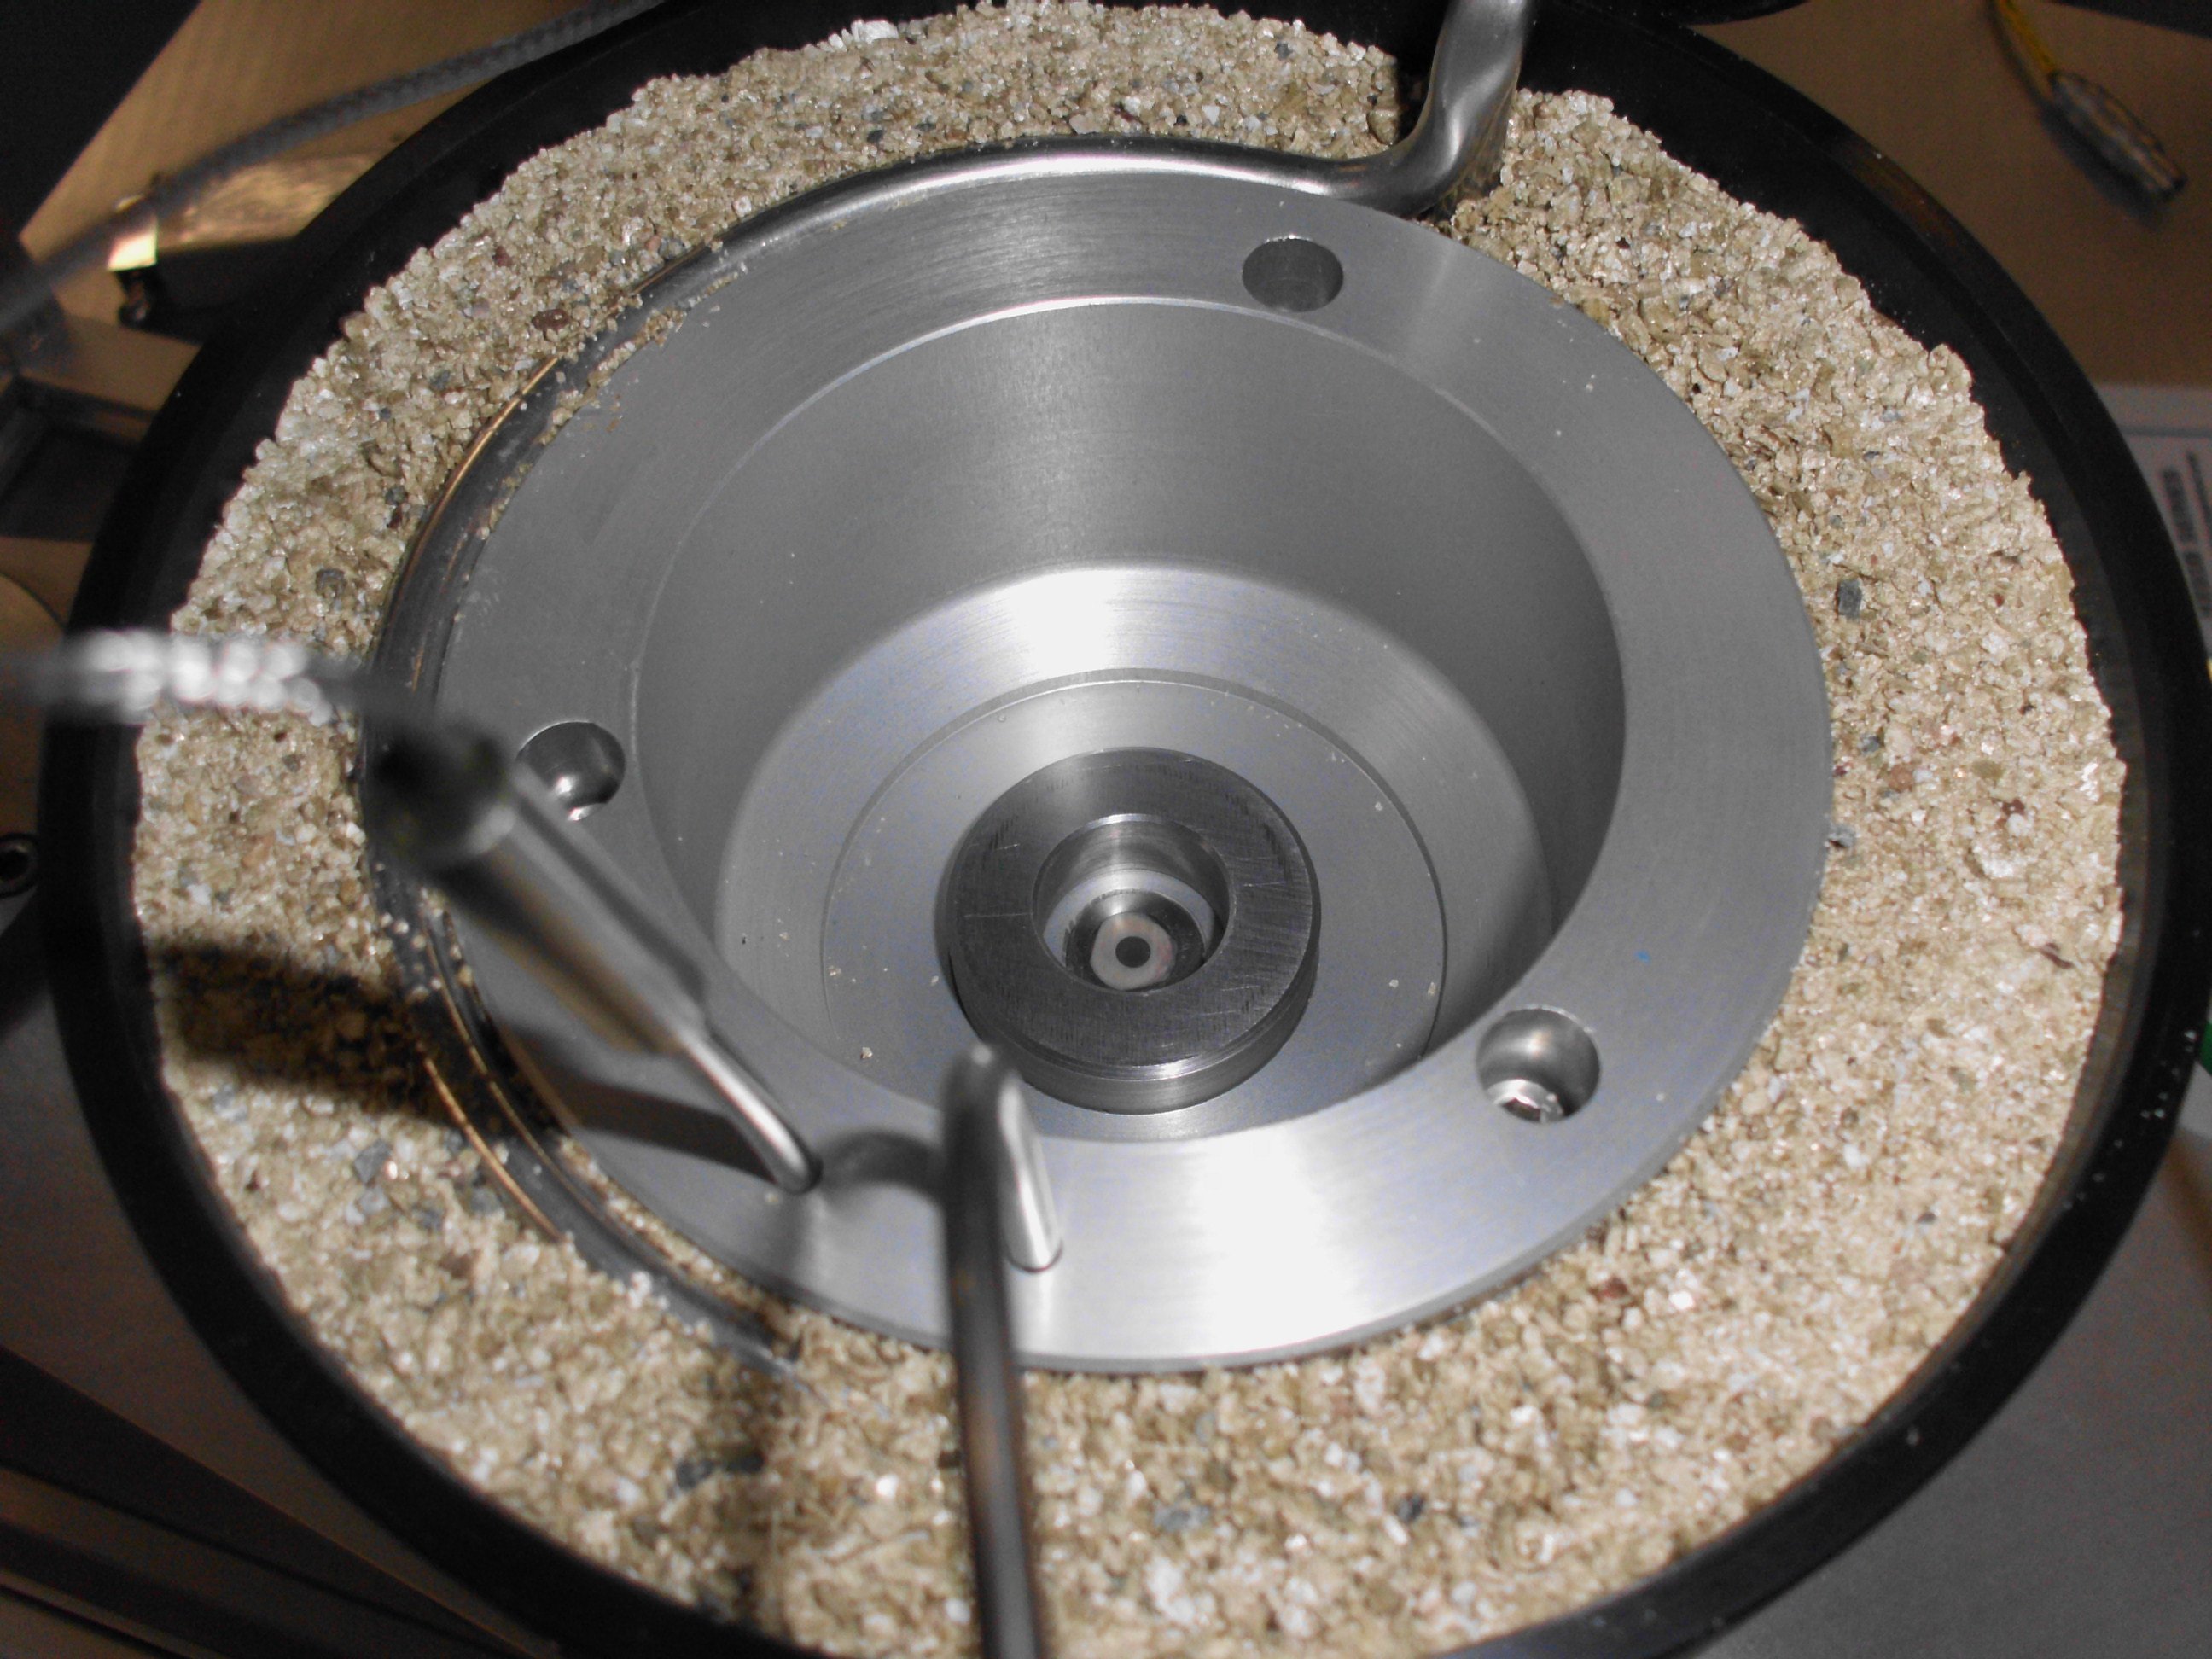
An NC-DVRT sensor is mounted in the centre of the cooling block, to measure the gap between the lower specimen assembly and a target on the upper specimen shaft, a reduction in the gap providing a measure of specimen wear.
In order to avoid icing in the test assembly, an enclosure is provided, fed with compressed air via a desiccant dehumidifier tube.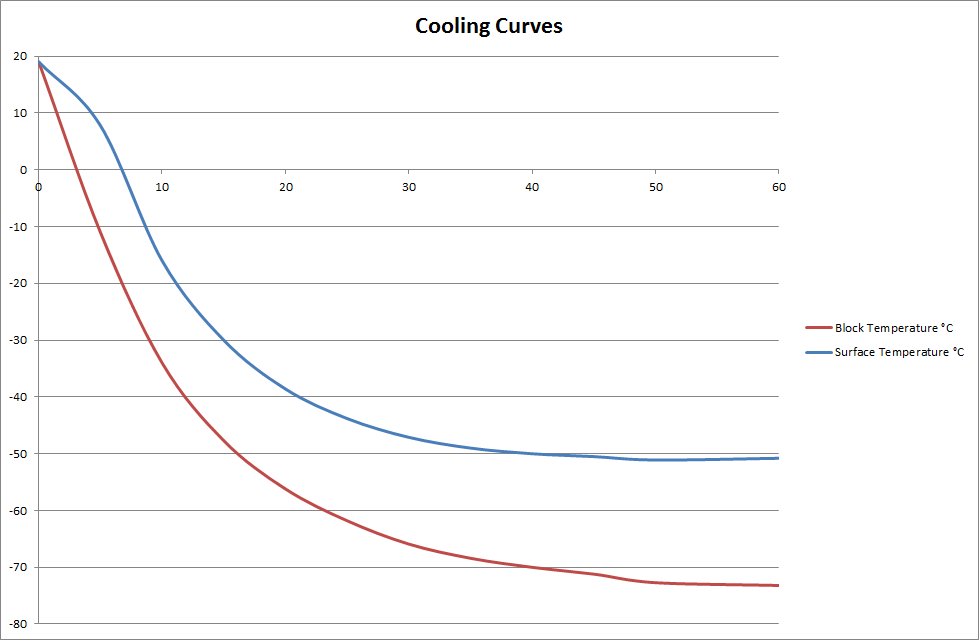
The cooled test assembly allows tests to be performed with specimen surface temperatures down to -50 °C.
Heated Test Assembly
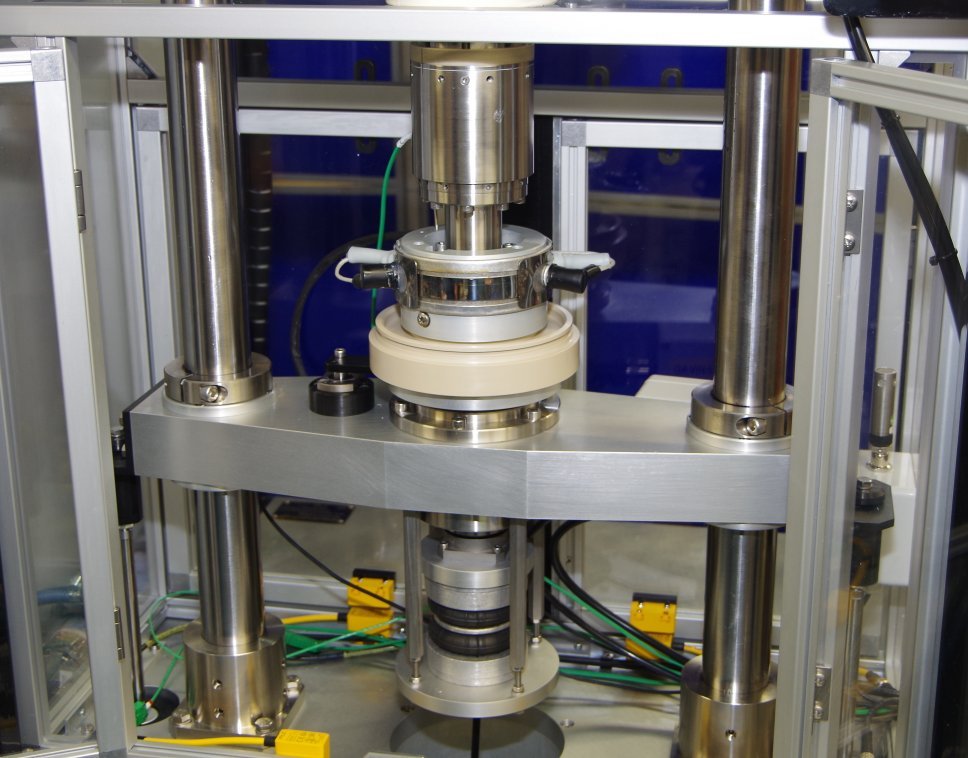
For tests at temperatures above ambient, a separate heated test assembly is provided. This incorporates an aluminium heater block with an electrical band-heater and includes an NC-DVRT sensor for wear displacement measurement. The assembly allows tests to be run at temperatures up to 150 °C.
Control System
Control and data acquisition are implemented via host PC running COMPEND 2020 Windows compatible software, in conjunction with a Phoenix Tribology USB micro-controller interface.
Automatic control is implemented via user programmable test sequences. Manual control is implemented using on screen toggles. Data is stored to hard disc in either .csv or .tsv file formats.Adapters and Tooling
TE 95/1 Cooled Test Assembly
Including refrigerant cooling system for temperatures from ambient to -50°C and linear inductive displacement sensor.
TE 95/2 Heated Test Assembly
Including band-heater system for temperatures from ambient to 150°C and linear inductive displacement sensor.
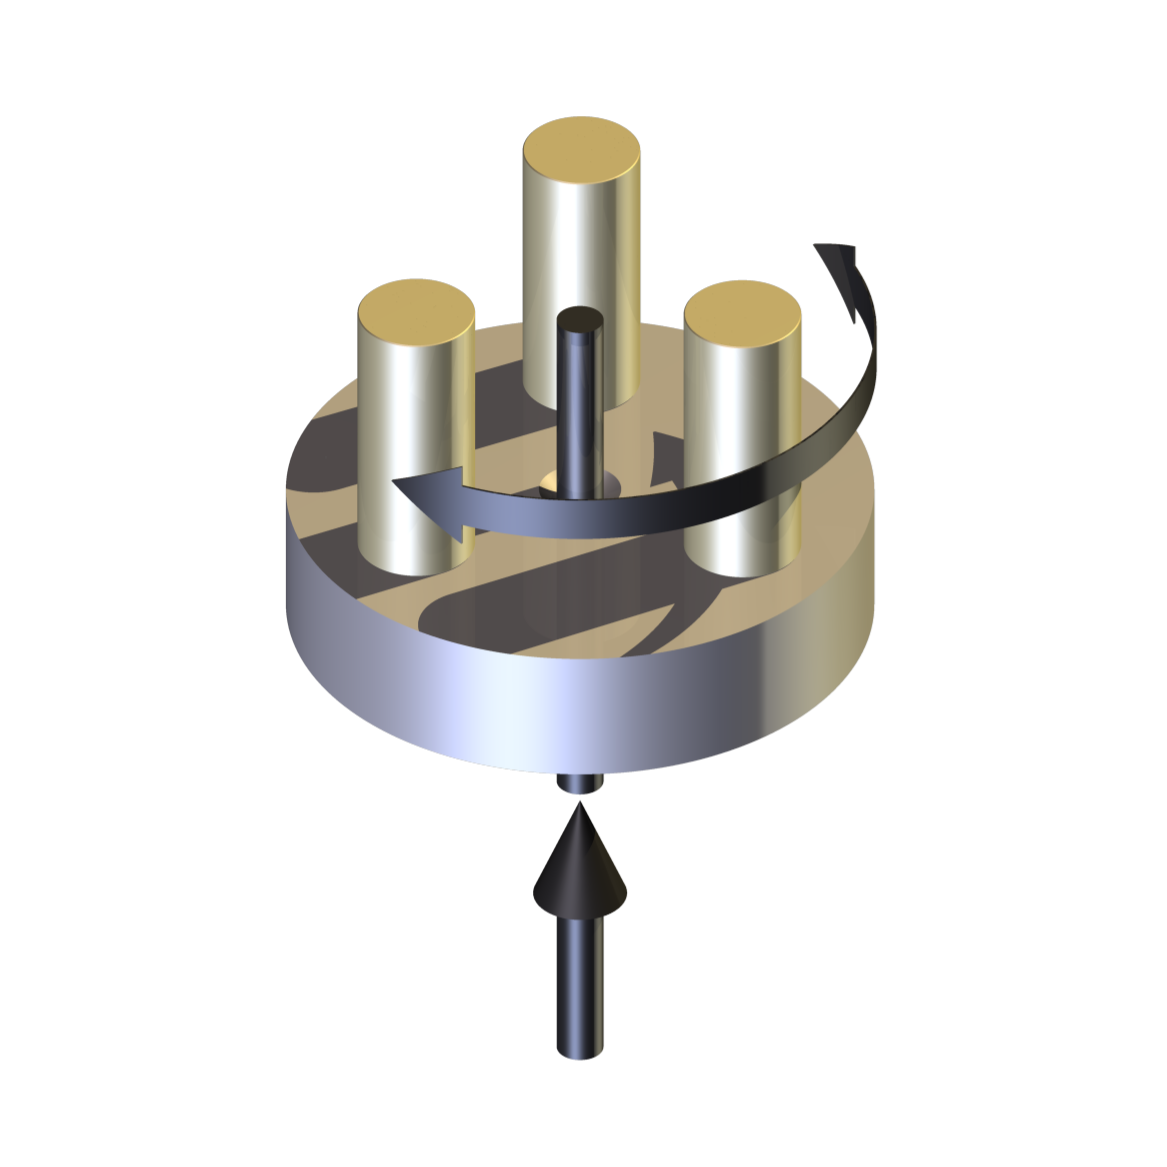
TE 95/3 Thrust Washer/Three Pin on Disc Tooling
For use with TE 95/1 and TE 95/2
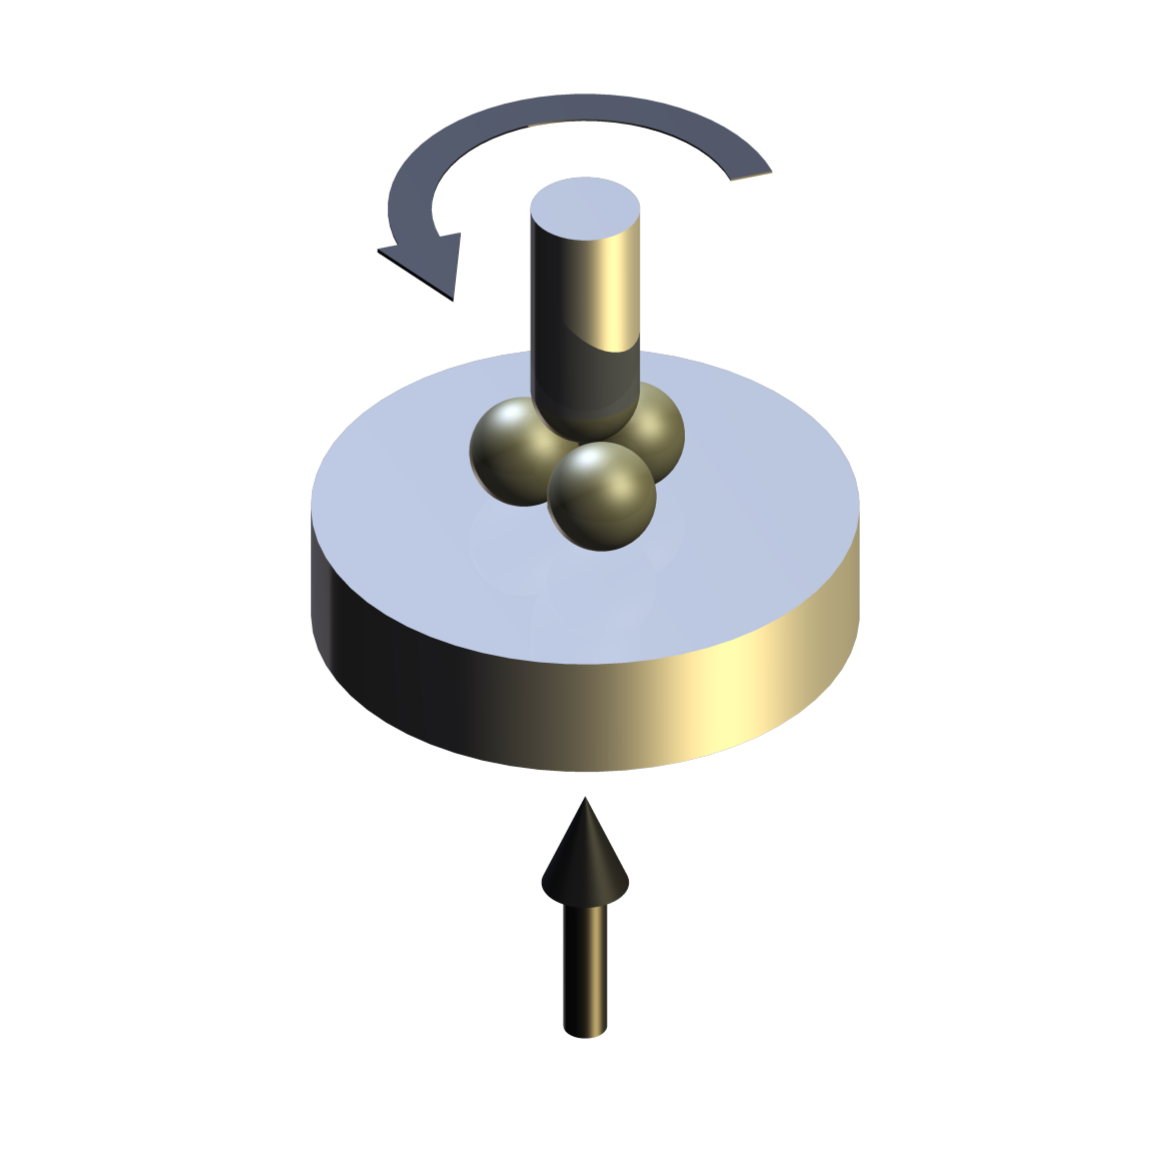
TE 95/4 Four Ball Wear Test Tooling
For use with TE 95/1 and TE 95/2 -
Technical Specifications
Rotational Speed: 30 to 3,000 rpm Load Range: 10 to 1,000 N Maximum Friction Torque: 10 Nm Motor: a.c. servo Motor Output: 16 Nm @ 4,000 rpm continuous rated Drive Belt: Poly-vee Interface: Serial Link Interface Module Software: COMPEND 2000 Controlled Parameters Rotational Speed Load Temperature Test Duration Measured Parameters Rotational Speed Wear Friction Force Temperature Number of Revolutions Test Duration Sliding Speed Friction Coefficient Sliding Distance Adapters and Tooling TE 95/1 Cooled Test Assembly Minimum Temperature: -50°C Wear Sensor: Linear Inductive Displacement Sensor Wear Resolution: 0.2 microns Cooling System: Laboratory Chiller TE 95/2 Heated Test Assembly Maximum Temperature: 150°C Wear Sensor: Linear Inductive Displacement Sensor Wear Resolution: 0.2 microns Heating System: Band-heater TE 95/3 Thrust Washer/Three Pin on Disc Tooling Thrust Washer: According to ASTM D 3702 Pin Track Radius: 10 to 35 mm Pin Size: 8 mm diameter x 15 mm long Disc Diameter: 75 mm maximum TE 95/4 Four Ball Wear Test Tooling Services Electricity: 380/415V, three phase, 50/60 Hz, 7.5 kW Clean, dry air: 4 cfm at 8 bar (120 psi) Installation Floor-standing machine: 900 mm x 600 mm deep x 2000 mm high, 250 kg Floor-standing cabinet: 600 mm x 600 mm x 1800 mm high, 150 kg Packing Specifications: 2.2 m3, GW 550 kg, NW 400 kg -
Download the Machine Leaflet

